When I first watched Tears of Steel I got really excited about Blenders capabilities. But for the longest time I only created 3d models and animations. I did create some VFX shots with friends but nothing that looked realistic. But now I was experienced enough to try to delve in to a more complicated VFX project. My plan was to create a small short film about Yuri Gagarin, the first Human in space. (I use the word astronaut even tough cosmonaut would be correct because
Getting the Footage
My friend and I filmed all the footage in my basement. We hung up a green screen in the back and constructed a “helmet” with cardboard. The green screen was just a big green cloth which we hung up on a pipe.
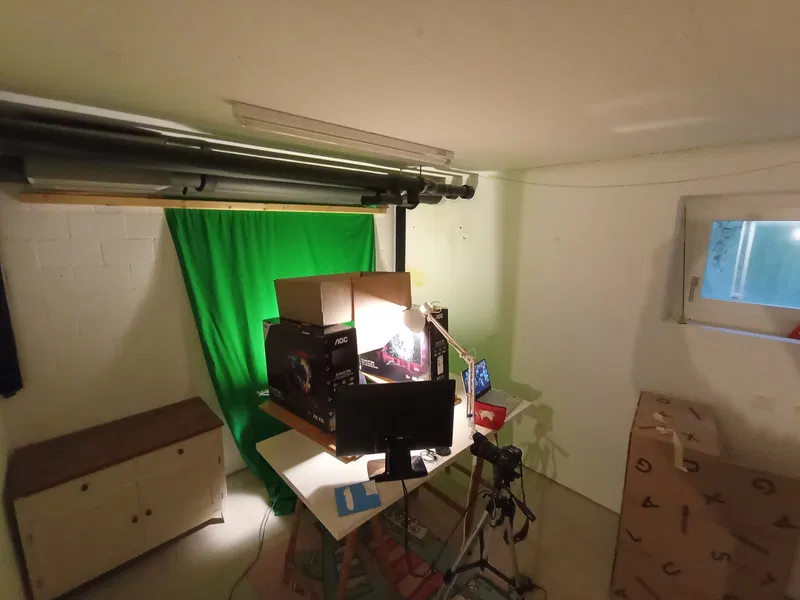
The goal was to replicate how it would look if the actor were in the helmet. This means that we have to block the light on the sides, the back and at the top. At the same time I needed to see the green screen to cut out the actor so it made the whole ordeal complicated. I came up with this strange contraption which did it’s job.
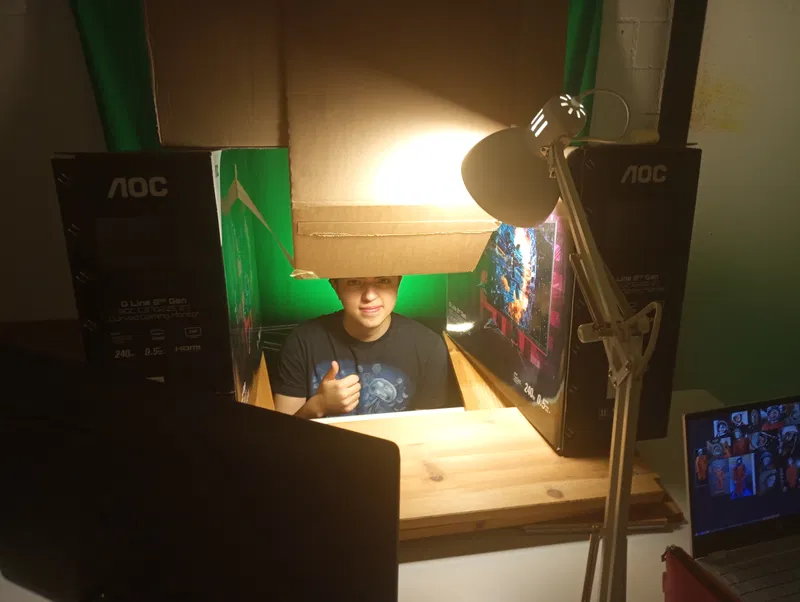
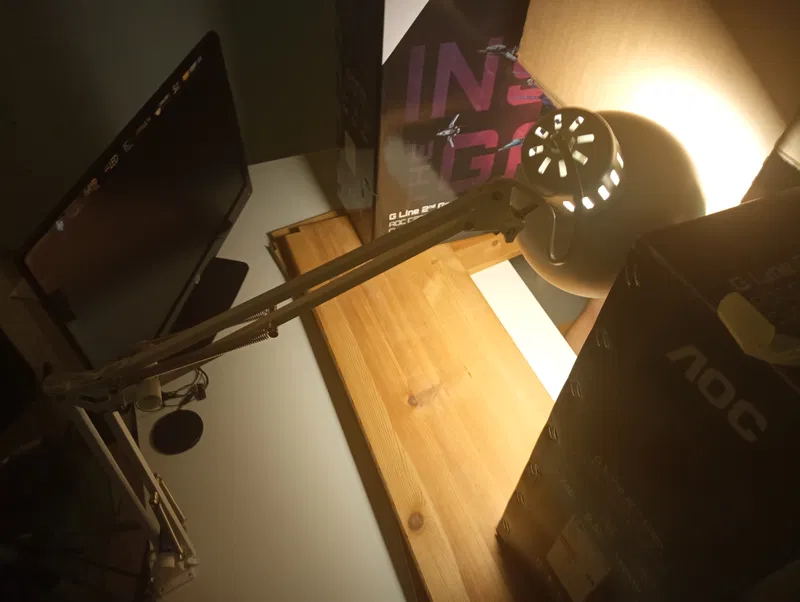

We used my desk lamp to simulate sunlight which worked fine. To keep the light from moving down I sticked some labelos inbetween the arm to keep it sturdy. The camera we used was an older photo camera which had a video capture feature too. We filmed some shots from the front, side and below. On top of that I took a ton of pictures of my friend for the photoscan. The setup was pretty janky but it kinda worked so it does not matter too much.
Seting Up the Scene in Blender
Next I needed a model of the spacesuit. There’s a timelapse of most of the modeling process here. I started with the helmet because it was a hard surface element which is easier to model. Then I slowly went down and added oxygen tubes and such.
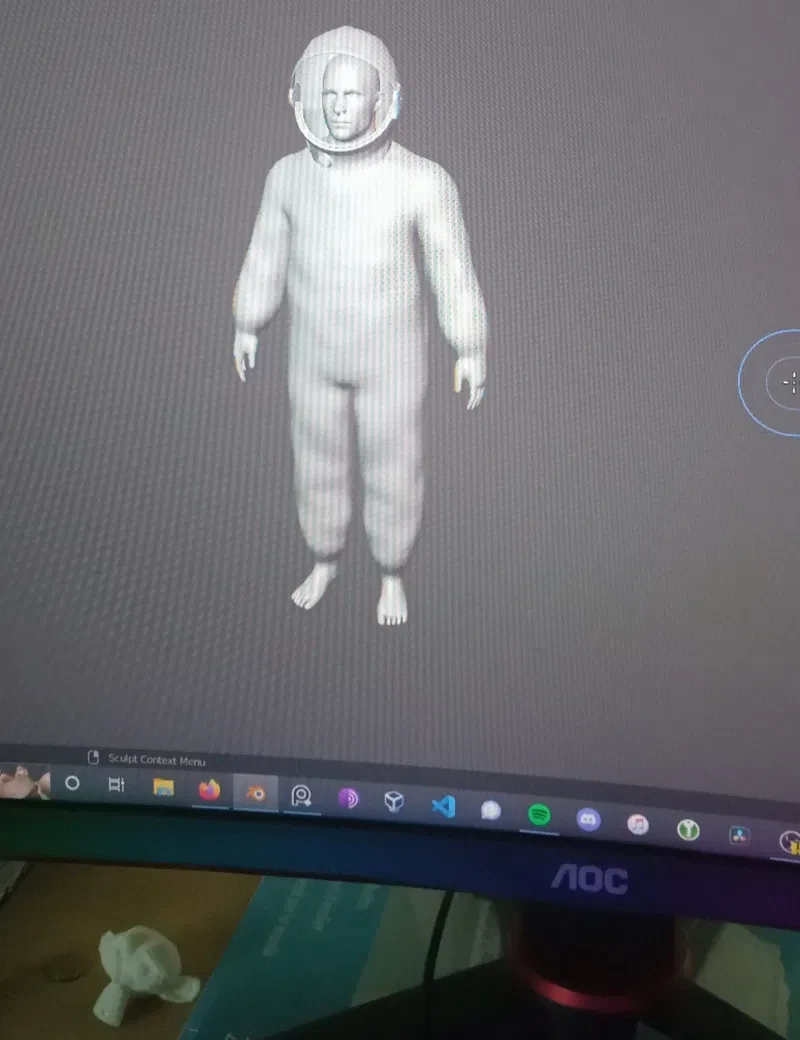
Something which I left for later was the cloth. I had no clue on how to get it to look realistic and blender isn’t known for great cloth simulations at the time (still not now but I don’t want to criticise blender). What I ended up doing was taking a base mesh of a human, enlargening it and then throw a large cloth over it and simulating it.
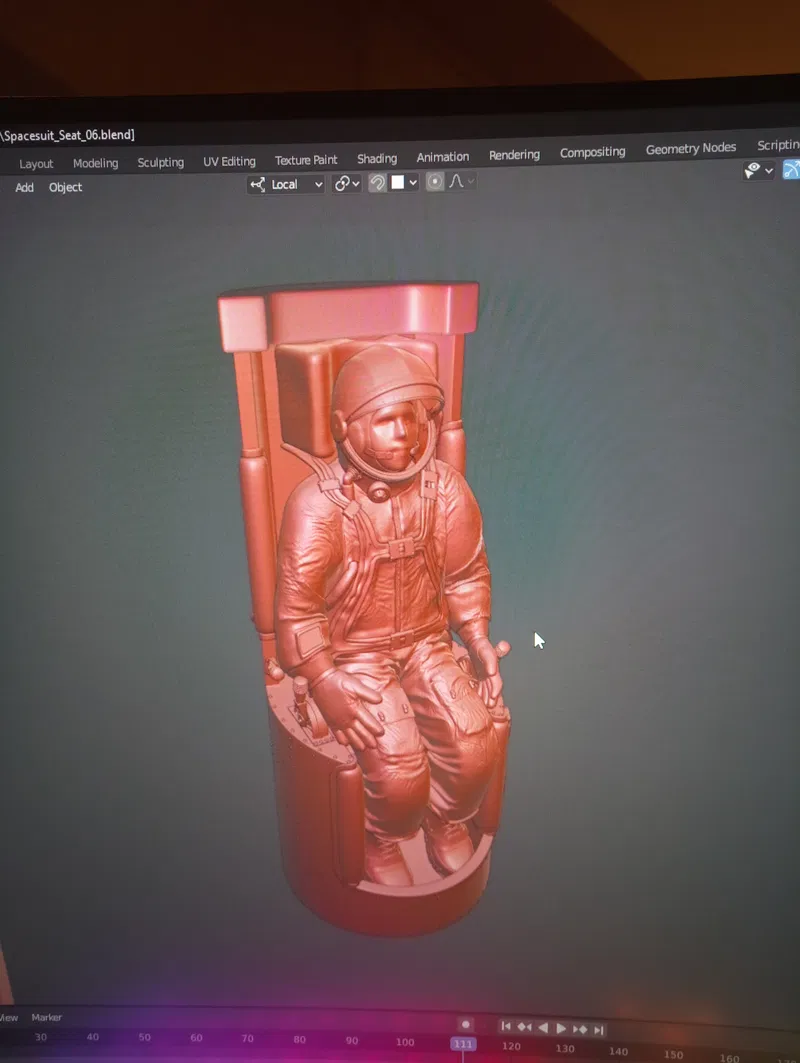
My problem was to get the cloth, which was in T-pose to the sitting pose which the astronaut would be in. To make it work I animated the enlarged character to the desired pose with some few bones. To finish it up I went over it with the scult tool and used a bit of the cloth brush to add some detail. I’m definetely not completely happy with the final result but it was enough for the demo but I will certainly have to improve this workflow.

The Capsule
Next I started working on the capsule. It consisted mostly of the seat and some interfaces.
Because the capsule is very cramped I had to cut it in half to be able to place the virtual camera without clipping through the walls.
VFX
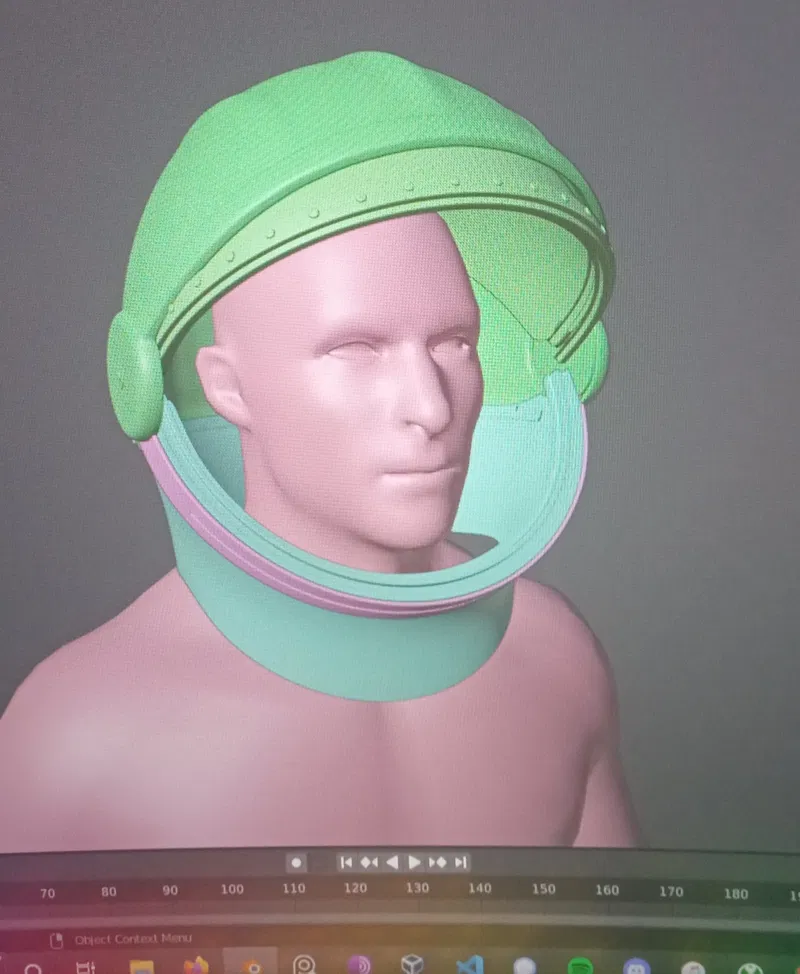
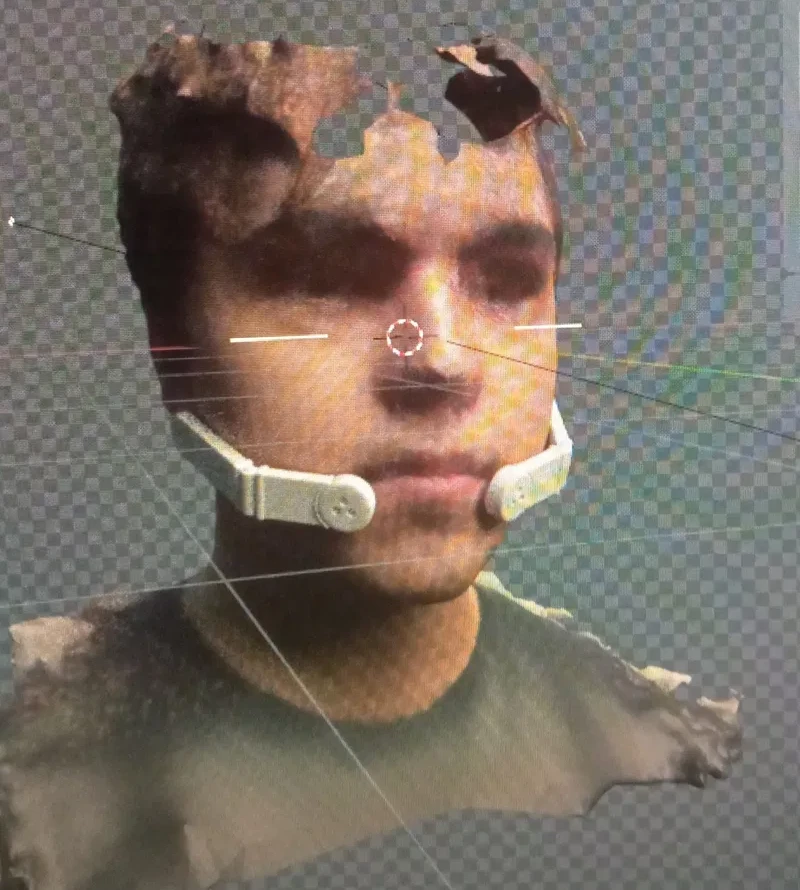
The next step was tracking the footage to get the motion of the face. This was needed to add the microphones and snoopy cap. Doing a normal camera track on spots on the face did not work properly so I had to find something else. Ian hubert has created an addon which I found on his patreon, that can do face motion tracking. You input the video and it outputs a MDD file. The disadvantage is that you cannot change the animation afterwards to clean up but the results were good enough. There was some jiggle because it’s an AI that does the motion tracking but by adding some camera shake afterwards you can’t really see it.
The MDD file contains a default face with the animations but I wanted to add my friends face to have the correct proportions. I generated a photoscan of his face and then cleaned up the mesh. I used meshroom for photoscaning.
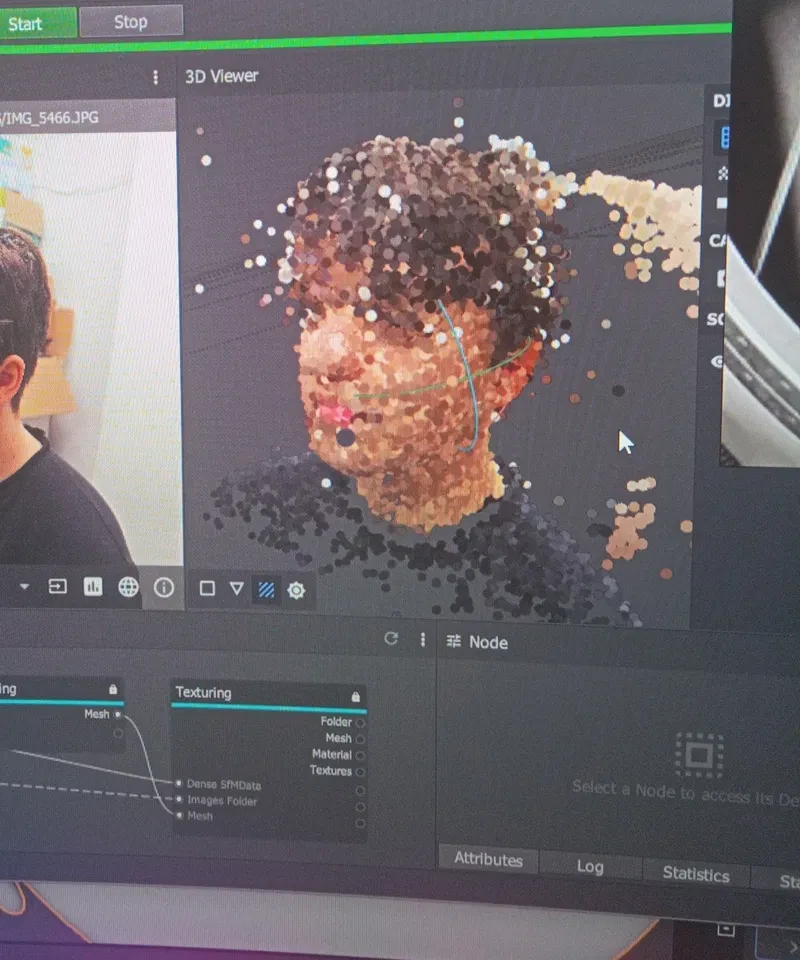
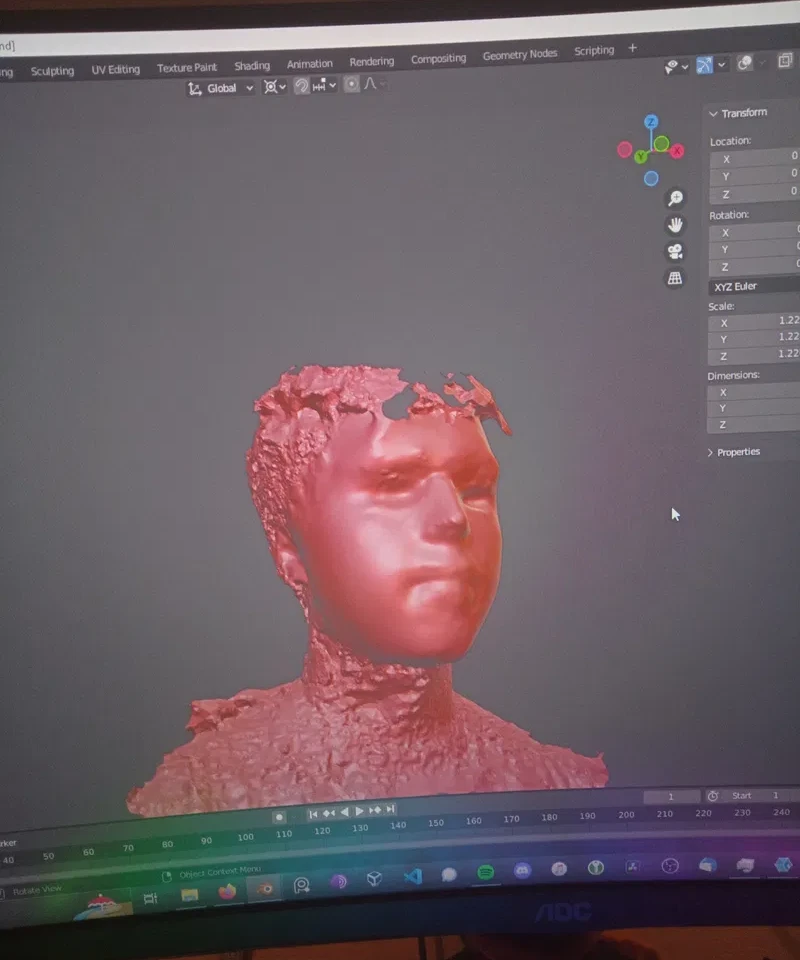
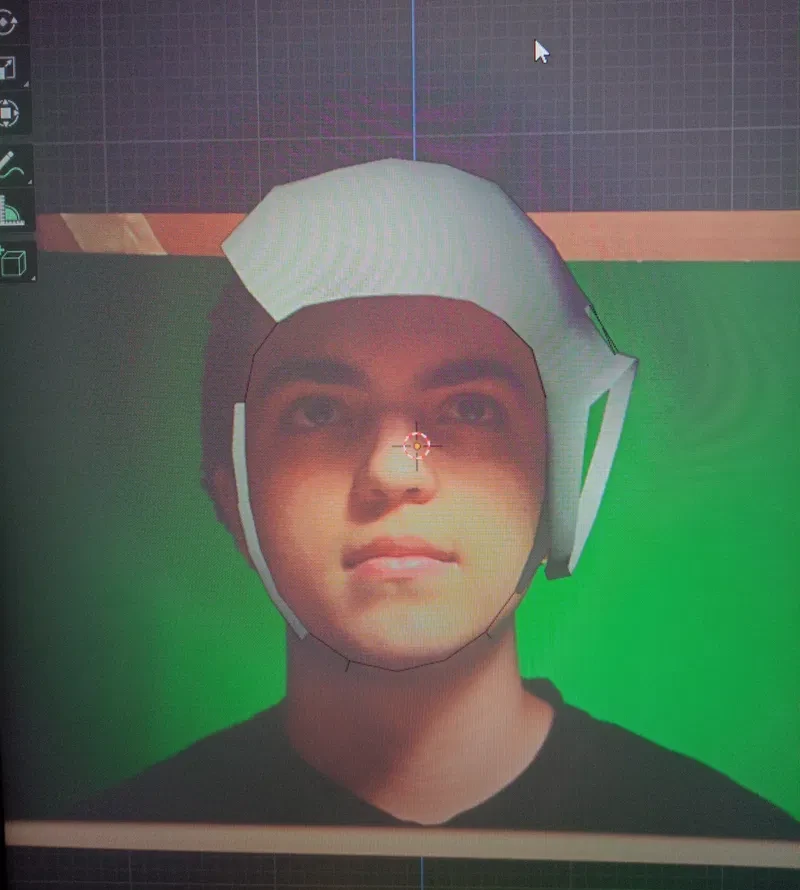
Now I could start modeling the snoopy cap. Having the scan of my friends head made it a lot easier to model the cap.
Compositing
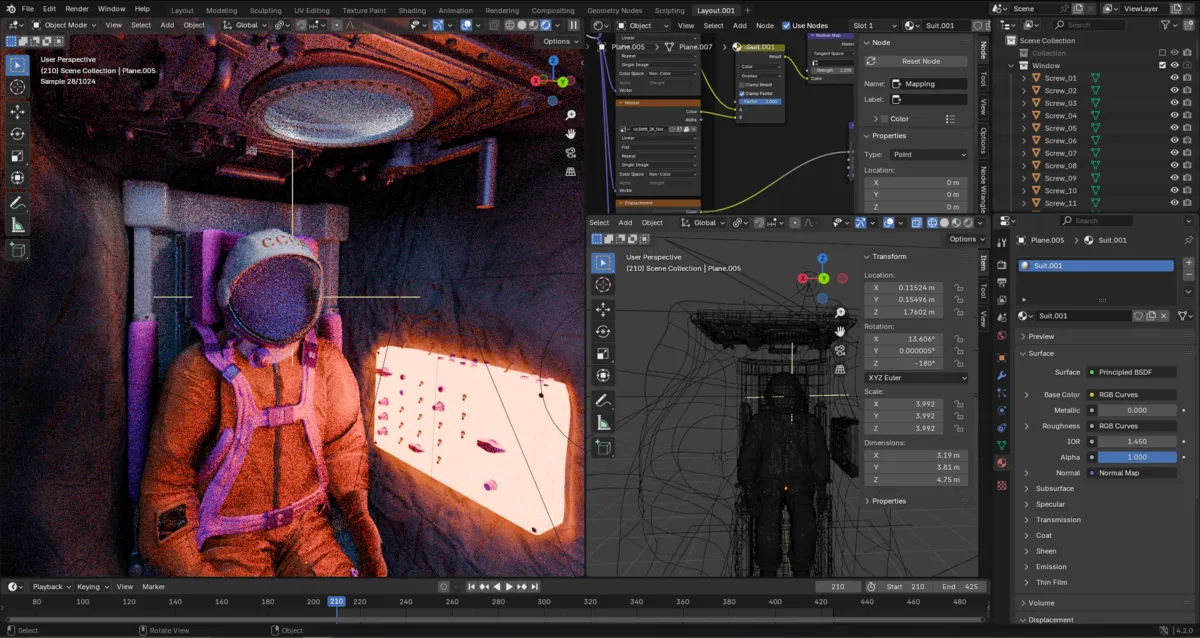
I do my compositing in blender. For this demo it felt easiest to do the compositing in the viewport and then only change some colors in post.
First I chroma keyed the green screen. This proces worked better than I predicted which was a nice surprise. Then I removed the boxes and other things that were not my friends head. The keyed video was exported and put on a plane in blender. This plane was planted inside the helmet and then I added some lights and other things to make the scene look better.
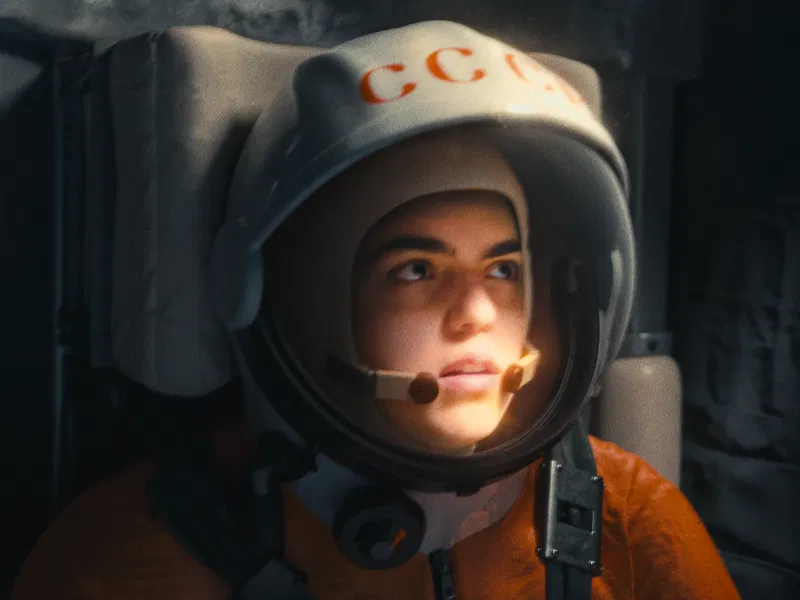
After rendering I composited some lens dirt and dust. It reflected at spots that had more light. To make the video look less perfect I added some blur and highlights. I also added some film grain and adjusted the colors so that it looks nicer.
Here is the final image.
You can see the whole film and an in depth video on my youtube channel here.
Last updated on January 25th, 2026 by Leo Martin
Related Topics: